“Self Portrait” by Katie McDowell (18), New Orleans Center for Creative Arts "An Old Man in Military Costume" by Simone Wuttke (18), Dartmouth College (recent Benjamin Franklin High School graduate) "This oil on canvas painting is inspired by Rembrandt's 'An Old...
You’ve heard of tie-dye before, but how about shibori?
Shibori is like the hip Japanese cousin of tie-dye. Using indigo dye—the same dye that gives denim its classic blue color—you can create cool designs and geometric patterns in different shades of blue through simple folding techniques. Shibori transforms plain white clothes and fabrics into stylish creations. And it’s super simple to shibori in your own backyard!
We love hitting up local thrift stores (Goodwill, Salvation Army, Bridge House, YEP Thrift Works) to sort through the racks for white items to dye instead of buying brand-new stuff. You’ll want to wash everything first, whether it’s new or vintage. Also make sure your items are 100% cotton since synthetic fibers (polyester, nylon, acrylic, spandex) won’t absorb the indigo dye.
There are so many ways to shibori—so many designs, patterns, and folding techniques. The sky’s the limit when it comes to shibori so let your creative energies run wild!
SHIBORI is a “resist-dyeing” method which means that anything you attach to your fabric will resist the dye and stay white; whatever is exposed to the dye will turn blue – that’s how you get all the cool contrasts of colors and shapes.
Shibori Dyeing
- Indigo Tie Dye Kit by Jacquard (available on Amazon, usually around $10; sometimes available at Uptown Needle & Craftworks but call first)
- White cotton items
- Rubber bands
- Rubber gloves (dishwashing gloves work great!)
- 5-gallon bucket (ideally with an airtight lid, available at Home Depot or Lowe’s)
- Drop cloth or tarp to protect your dyeing zone
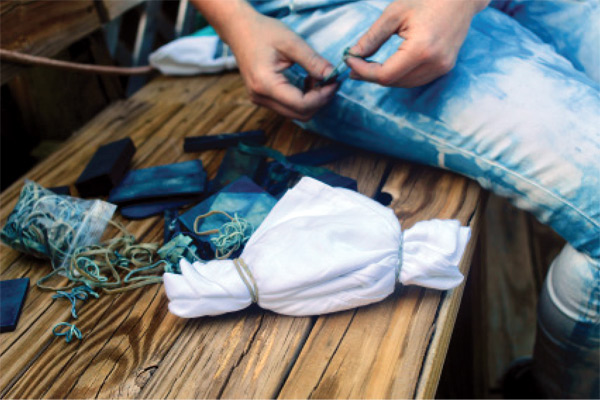
- Objects for creating patterns: small wood blocks or squares (the kit contains a few squares), clothespins, binder clips, oyster shells… whatever you got!
- Warm water
- Clothesline
STEP BY STEP
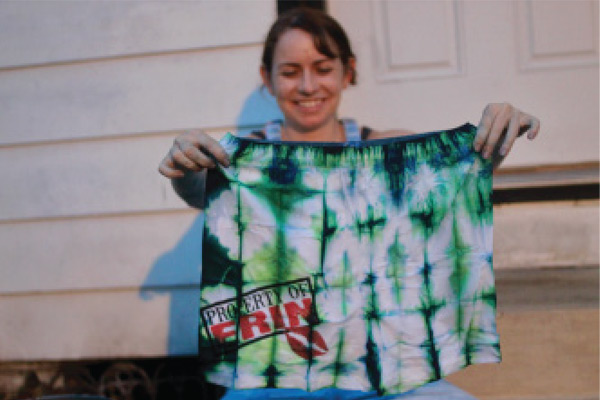
Step 1 – Shibori Supplies: Order your shibori kit online! Ten start gathering white cotton items to dye such as t-shirts, tanks, crop tops, pillowcases, tea towels, scarves, or even underwear.
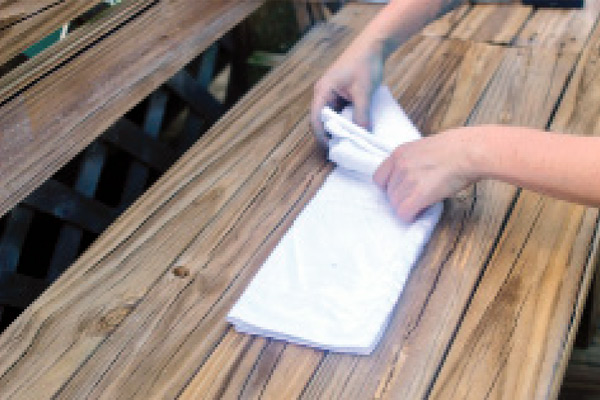
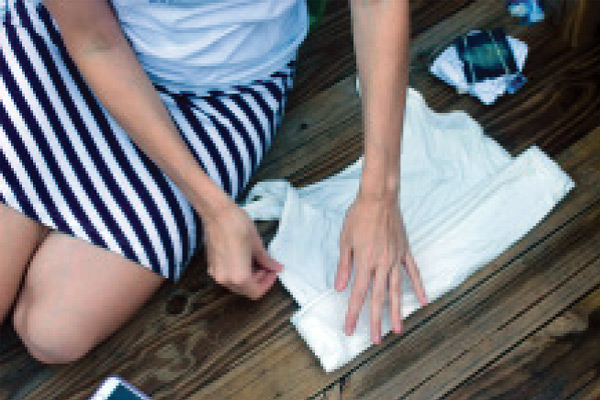
Step 2 – Folding: The key to beautiful shibori designs is the folding techniques. Start with the basic accordion fold.
- How to accordion fold: Fold one strip of the fabric, then go back and forth folding it lengthwise, accordion style. Once you’ve finished in one direction, fold it in the other direction—again, accordion style. From there, you can fold it into a square, rectangle, or triangle; each shape will create a different design!
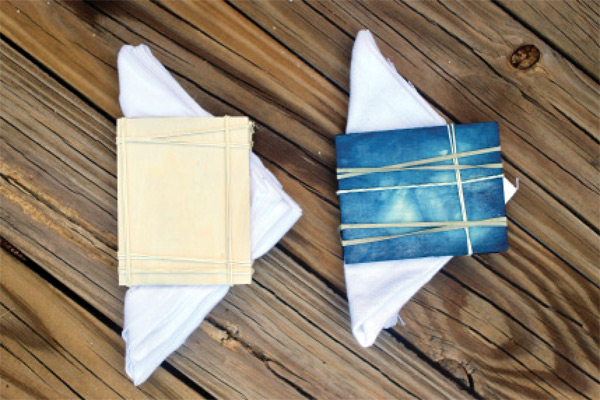
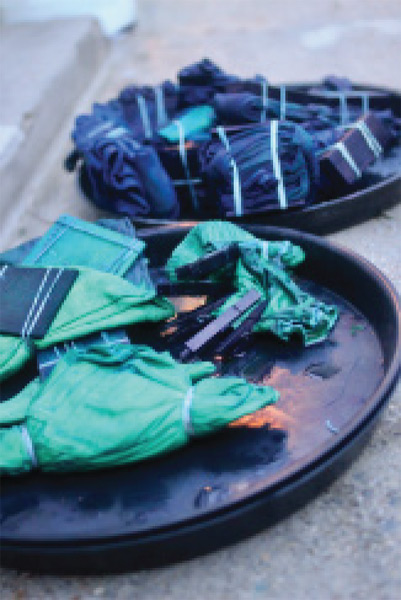
If using wood blocks, sandwich them outside of your folded creation and use rubber bands to bind the whole thing together.
- If you don’t have wood blocks: No worries, you can stick to rubber bands. Tie them around the ends of your folded creations. One option is to do the triangle accordion fold, then tie a rubber band around each of the triangle’s corners.
- If you don’t want to fold: To make the classic tie-dye-style rings, simply bunch up a small wad of fabric and tie a rubber band around it. The rubber bands will create small white rings on the fabric.
Step 3 – Prepare Your Indigo Vat Outside: Shibori is ideally an outdoor activity so hopefully you have some space on a driveway, sidewalk, or backyard (check the weather first to make sure it’s not supposed to rain!). Cover your dye zone with a drop cloth or tarp if you don’t want to risk staining the ground. And since you don’t want to stain your favorite outfit, wear an old t-shirt or something you won’t mind getting a little messy.
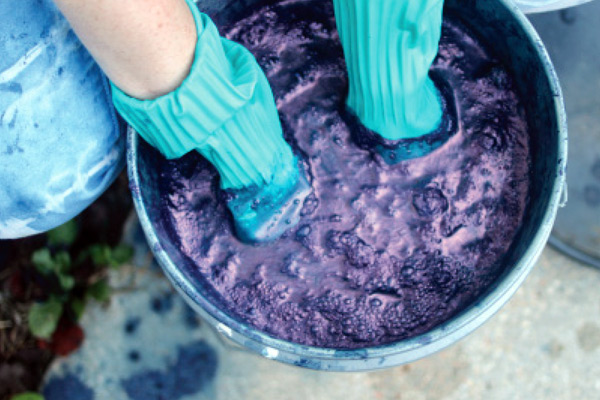
Follow the instructions on your shibori kit to set up the vat. You’ll start by filling the 5-gallon bucket with 4 gallons of warm water. Dump the kit’s contents into your bucket: indigo powder, a reducing agent, and soda ash. The kit makes it super simple since everything is already measured out. Gently stir the vat, and once the dye is well mixed, cover it with a lid for at least an hour.
Check on the dye later—it should resemble a bubbly witches’ brew. That’s how you know it’s ready!
Step 4 – Quick Rinse: Once you’ve folded and rubber-banded all your items, give everything a quick rinse with cold water. Squeeze out any excess water. You want everything to be a little damp when it goes into the bucket; this will help absorb the indigo dye.
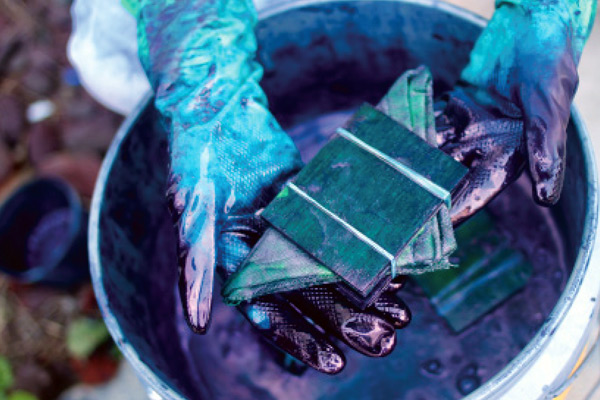
Step 5 – Shibori Showtime: The time has come! It’s SHIBORI SHOWTIME! Put on your rubber gloves and start plunging your folded creations into the bucket. Since most fabric will float, you’ll want to hold your items under the surface and keep them submerged for at least 3-5 minutes.
When it’s time to remove everything from the bucket, they’ll emerge a yellow-greenish color. As your fabric oxidizes, it’ll turn from green to the distinctive indigo blue in a few quick minutes. Magic, right?
Step 6 – Double Dipping: If you want a darker shade of indigo, throw your items back into the bucket for another 3-5 minutes. And remember, the fabric will look darker when it’s fresh out of the dye vat; it will fade a bit after you run it through the laundry
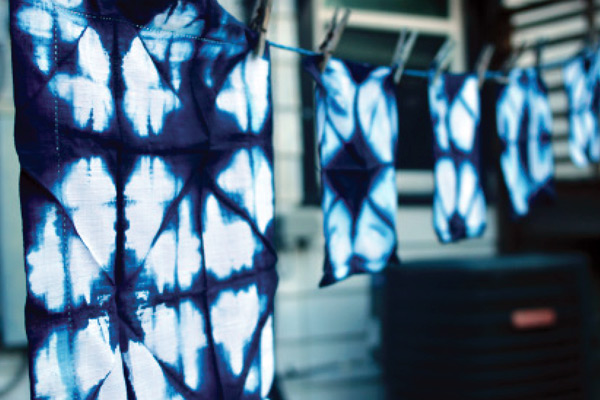
Step 7 – Unlock the Shibori Magic: Once you’re done with any additional dips and everything has oxidized, unwrap the rubber bands and folds to reveal your shibori masterpieces! This is the coolest part. It’s amazing to see the designs you’ve created! And remember, the beauty of shibori is that there are no mistakes; your designs are going to be unique and awesome, even if they didn’t turn out the way you expected.
Step 8 – Wash and Dry: Hang your freshly dyed items on a clothesline. Once the fabric is mostly dry (no worries if it’s still a little damp), throw the goods into the laundry with cold water and some detergent. Make sure you wash the indigo items BY THEMSELVES and not with other laundry. Once they’ve been washed and dried (separately from other laundry for the first run), they’re safe to wash with everything else in future loads.
Step 9 – Indigeaux Girls: Show of your new shibori creations and tell folks “I made this!” with a big smile on your face as you collect compliments! If you don’t use all the indigo dye in one session, keep it covered with the airtight lid. It should last a couple more days so you can shibori some more.