“Self Portrait” by Katie McDowell (18), New Orleans Center for Creative Arts "An Old Man in Military Costume" by Simone Wuttke (18), Dartmouth College (recent Benjamin Franklin High School graduate) "This oil on canvas painting is inspired by Rembrandt's 'An Old...
By Erin Zimmer Sternio
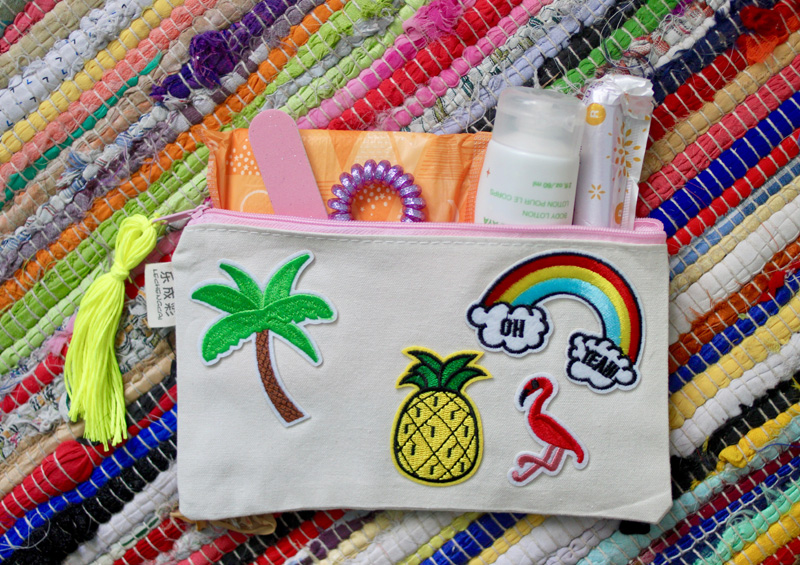
Zipper pouches are great for so many reasons! You can store makeup, pens, toiletries, and anything else you need on the go. Throw that little pouch into your purse or backpack and be on your way!
They’re also the perfect size for packing self-care essentials to help you feel refreshed and
ready to tackle the day. Fill your self-care kit with any of your favorite feel-good products.
We’ve included some ideas below!
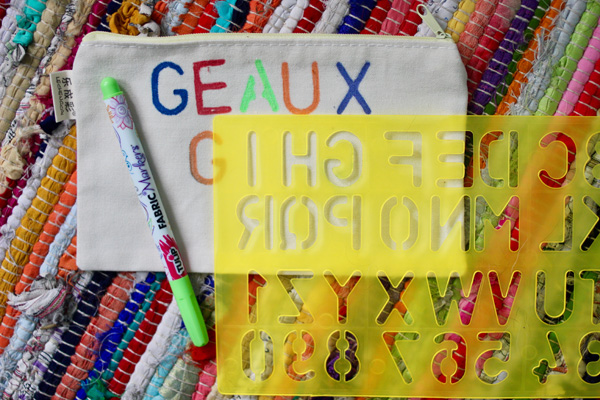
To make a self-care kit, start with a simple zipper pouch. As with any DIY project, we hope you feel inspired to add your own flair. We used fabric markers, stencils, colorful iron-on patches, and bright tassels to personalize our kits, but feel free to decorate with anything else that strikes your fancy.
WHAT YOU’LL NEED:
- Zipper pouches (we ordered simple canvas zipper bags on Amazon)
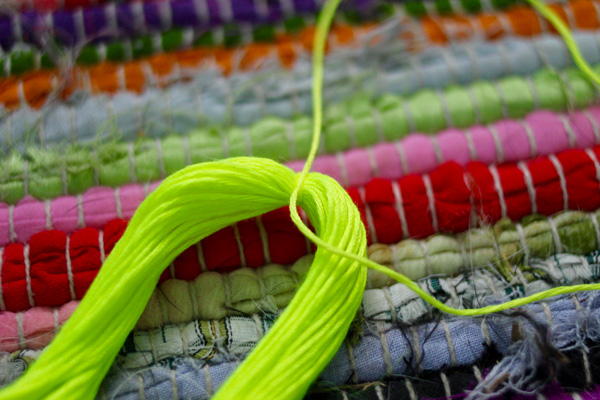
- Embroidery floss (aka friendship bracelet string, available at craft stores)
- Fabric markers
- Stencils
- Iron-on patches
SELF-CARE ITEMS FOR YOUR KIT:
- Tampons or pads
- Lip balm
- Lotion
- Hand sanitizer
- Hair ties
- Travel-size brush or comb
- Mints
- Face mist
How to Make Tassels
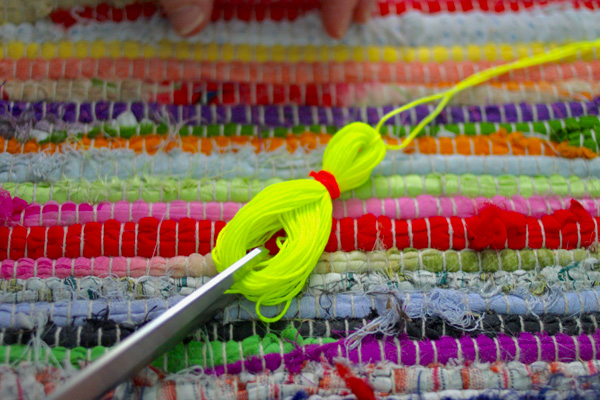
Embroidery floss is already packaged into nice little bunches, which is very convenient for tassel making!
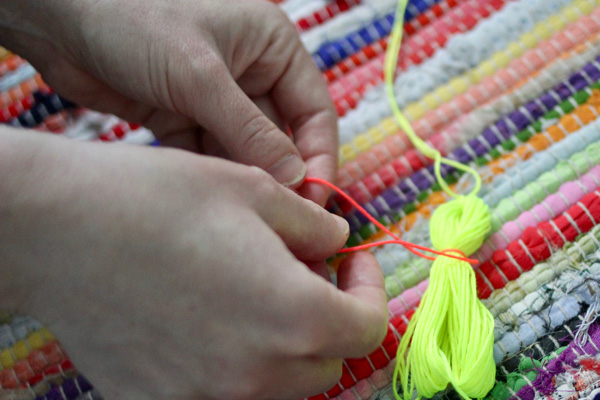
- Tie a piece of embroidery floss around the center of the bunch. You’ll use this to tie the tassel onto the zipper later.
- Fold the bunch in half and wrap another piece of embroidery floss around the top of the tassel, leaving about a half inch of space up top. Tie it off with a double knot to make sure the tassel is secure.
- Snip the bottom ends of the floss to finish off your tassel.
- Attach the tassel to the zipper with a double knot and ta-da!
Iron-on Patches 101
The process is pretty self-explanatory, but here are some helpful tips.
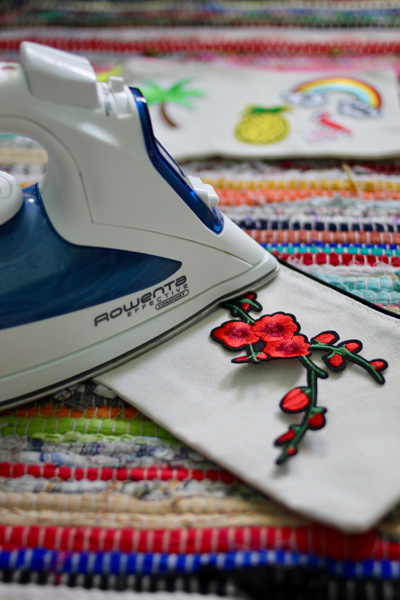
- Heat your iron. Make sure the “steam” option is turned off and the iron isn’t filled with water.
- Place a thin towel over your patch and press the iron on top for about 15 seconds. It’s best to do this on a hard, flat surface.
- Remove the iron and allow the patch to cool. Check to see if the patch is sticking to the fabric by gently rubbing the edge of the patch. If it lifts up a bit, put the towel back on and iron the patch again for 10 seconds. You can also sew around the edges to make sure the patch is extra secure.
Note: Your fabric should be at least as thick as the patch, otherwise it won’t stay on. Avoid fabrics like nylon and other synthetic materials. Cotton works best.
Iron-on patches are a great way to express yourself! They’re also a convenient way to hide holes or stains on denim, backpacks, or other accessories.
Erin Zimmer Strenio can always get down with an arts & crafts project, whether it’s making flower crowns, quilting, or indigo-dyeing textiles for her side project Saint Lydia (which you can find at the Ogden Museum shop and elsewhere around town). By day, she’s a content designer for the federal government, but in past lives she’s been a food editor, jill-of-all-trades marketing strategist, and cookbook recipe tester. Originally from a beach town in Southern California, she’s proud to call New Orleans home.